How to Add a Store Locator to Shopify: Step-by-Step Guide
Table of Content

Although we live in the digital era, where the convenience of online shopping rules, brick-and-mortar stores continue to hold their charm. Shopify businesses increasingly leverage apps like store locators to bring online browsing and in-store shopping closer. These tools guide customers to locate the physical store directly from the Shopify store for an in-person visit and enhance the overall customer experience. Appracadabra makes it easy to integrate this feature into your Shopify store, bridging the gap between online convenience and offline shopping. This blog will explain the importance & benefits of a shopify store locator, how to select the right one and provide a comprehensive step-by-step guide on how to add store locator on shopify.
The Significance of a Store Locator for Shopify Businesses
Integrating a store locator in your Shopify store is more than just a convenience feature; it’s a strategic business tool. The best Shopify store locator app will serve as a vital link between your online presence and physical outlets, helping to convert online interest into offline sales. By guiding potential customers to your closest store, the store locator significantly enhances the likelihood of additional purchases and boosts brand loyalty while retaining market position online.
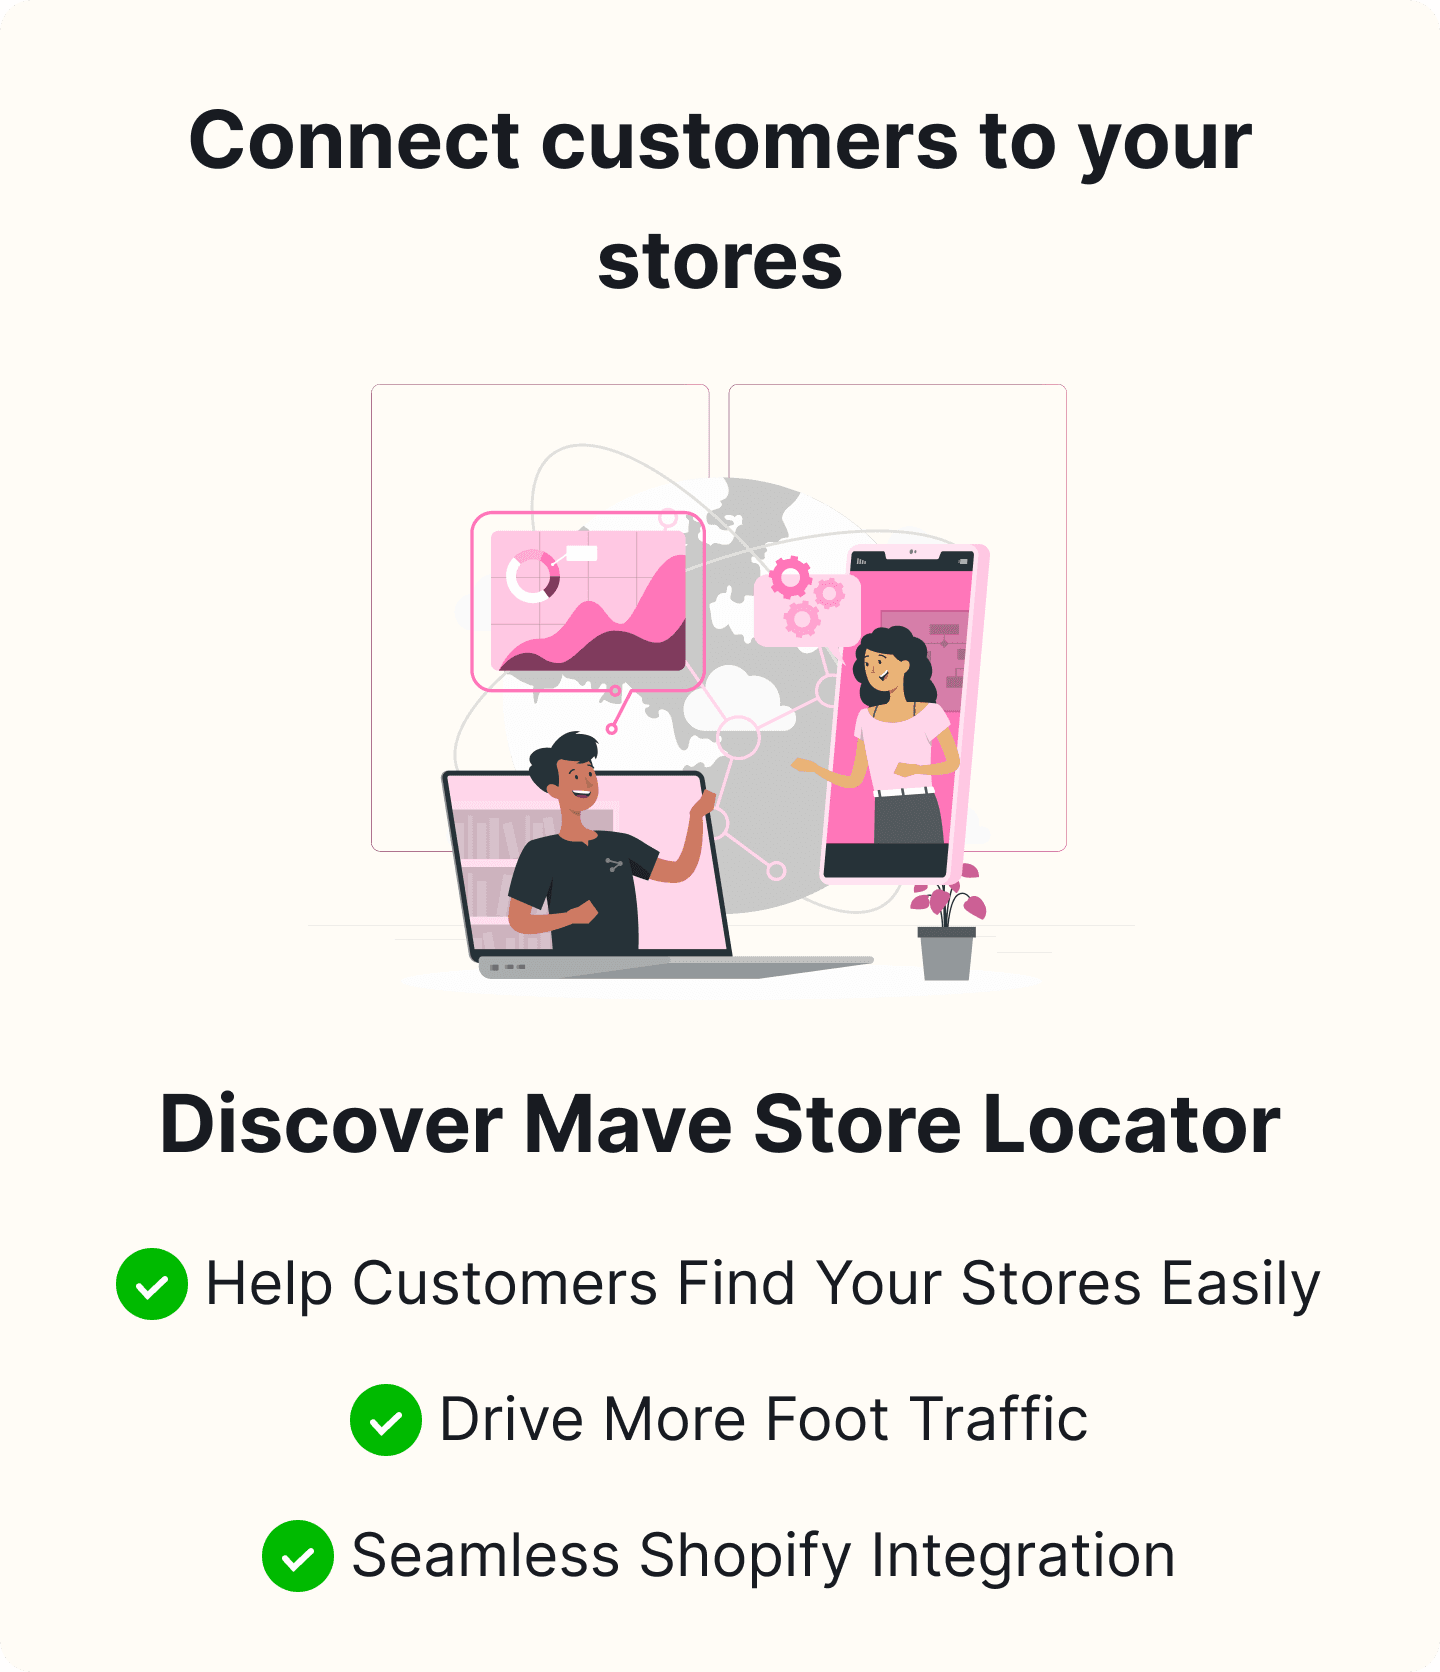
Benefits of a Store Locator in Enhancing Customer Experience and Driving More Foot Traffic
A well-implemented shopify store locator on the Shopify website supports a seamless transition from online browsing to in-store shopping. This tool is vital to guiding your online customers to brick-and-mortar locations with just a few clicks. It can dramatically improve customer satisfaction by making it easy for customers to find your products in person. Additionally, it boosts foot traffic to your physical locations, potentially increasing sales and enhancing your brand’s visibility in various locales.
How to Add Store Locator on Shopify: Step-by-Step Guide
App Selection
Selecting the right Shopify store locator app is crucial for store owners. It’s not just about adding a map to your website; it’s about creating a better shopping experience for your customers. You must consider several factors to ensure your chosen app aligns well with your business needs.
Considerations for Choosing a Store Locator App
When selecting a store locator app, essential considerations include features, user interface, pricing, and compatibility with Shopify’s ecosystem. Features might range from GPS functionality to advanced search filters, while the user interface should be intuitive and easy to navigate for you and your customers. Additionally, the pricing model should fit your budget, and the app’s compatibility with Shopify should ensure a smooth integration into your existing setup. Try Appracadabra store locator today!
-
Features: Look for store features such as Shopify interactive maps, local search filters, multiple locations support, and mobile responsiveness.
-
User Interface: Choose one that gives you an intuitive interface, as it will make navigating easy.
-
Pricing: Evaluate the pricing structure of different apps to find one that fits your budget and offers value for money.
-
Compatibility: Ensure the app is compatible with Shopify’s ecosystem so that it can be integrated into your online store seamlessly.
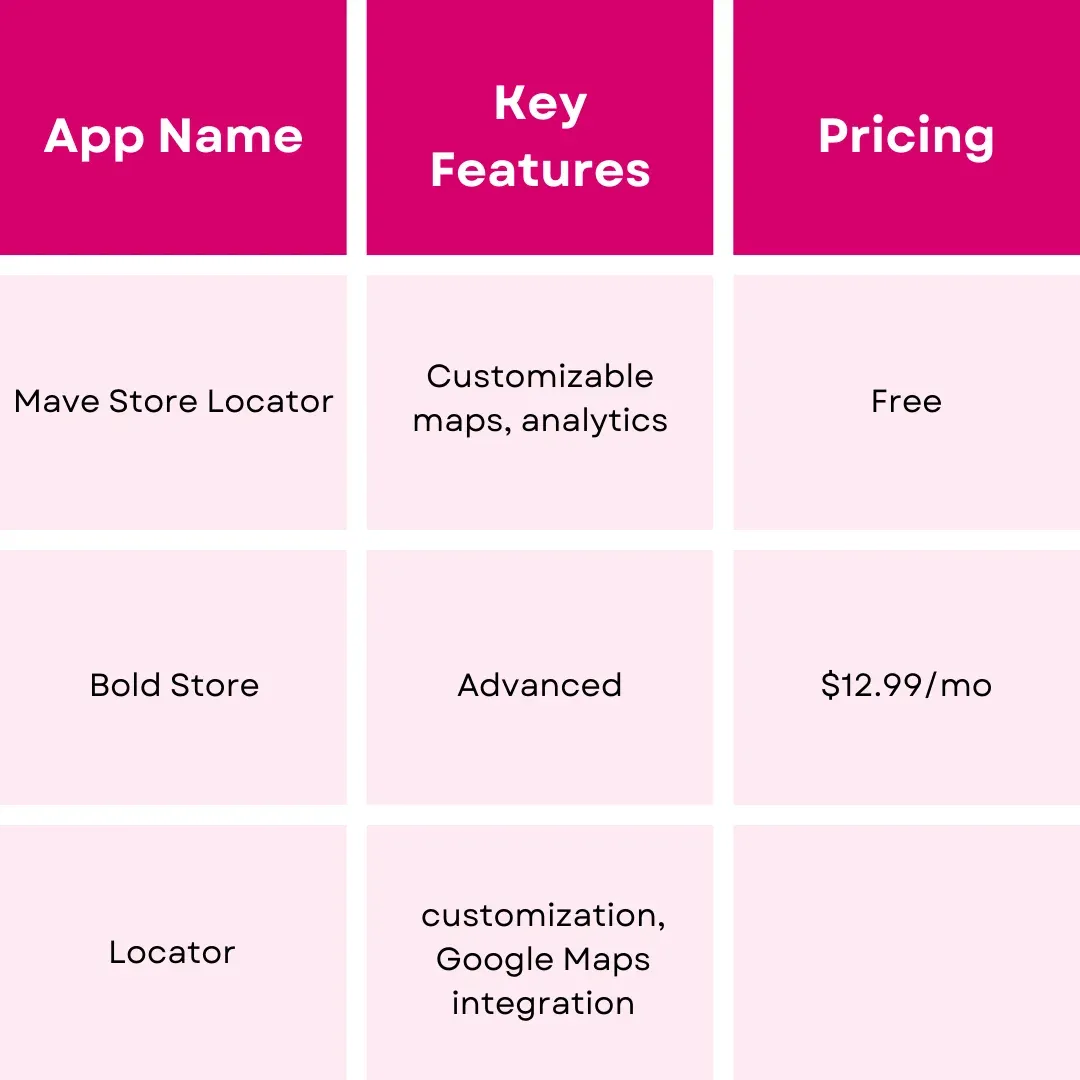
Two examples of store locator apps worth considering are:
Mave Store Locator:Known for its ease of use and robust features, including custom map styles and analytics.
Bold Store Locator: Offers advanced customization options and integration with Google Maps for accurate location mapping.
Several other store locator apps in the market require in-depth research before you make your final selection. Now, we come to installing the chosen store locator app in shopify.
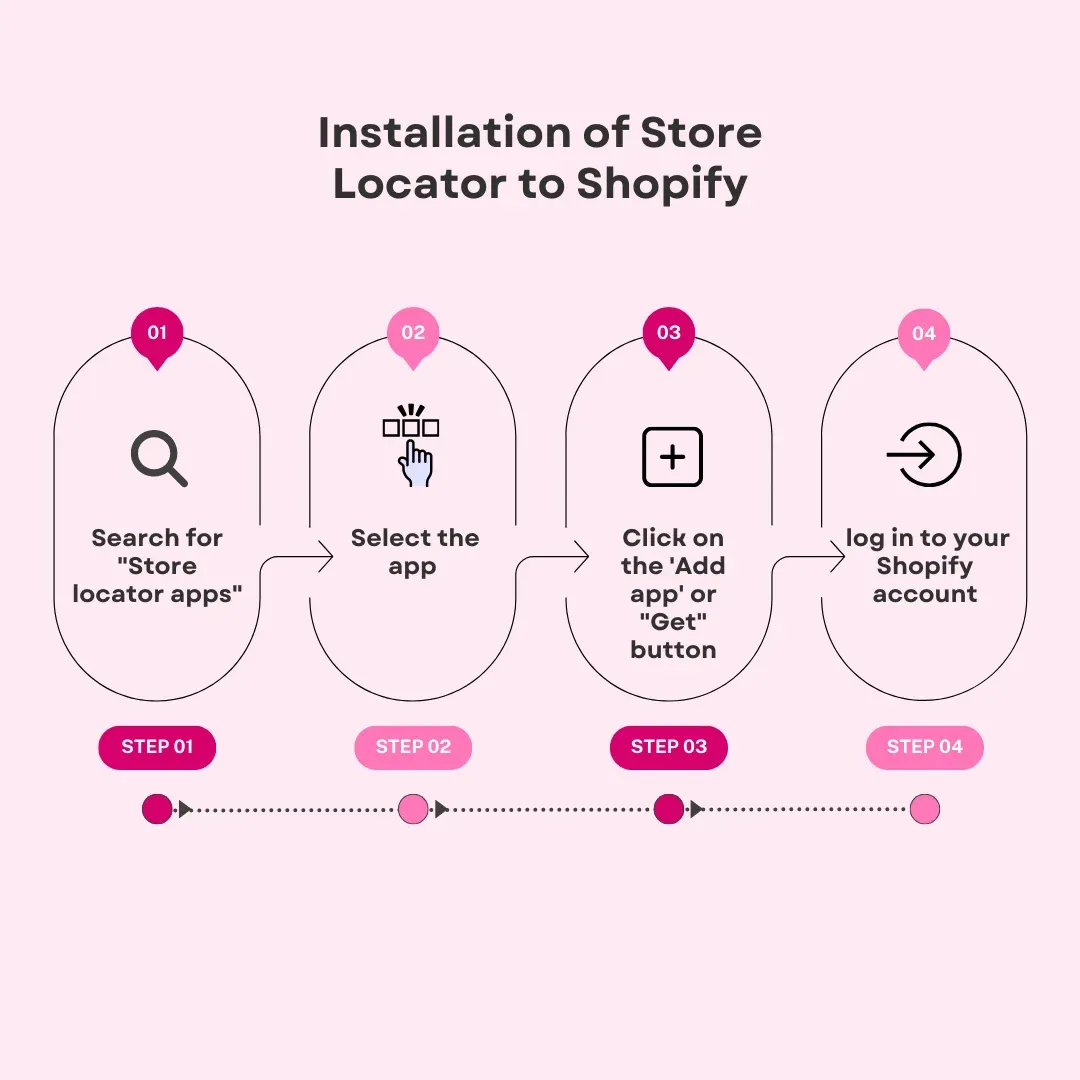
Installation of Store Locator to Shopify
Here’s a step-by-step guide for selecting and installing the chosen store locator app from the Shopify App Store.
-
Start by browsing the Shopify App Store. Search for “store locator apps” using keywords like “store locator for Shopify” or “Shopify store locator app.” Review the options available, paying close attention to user reviews, customization, map integration, user interface, and other features.
-
Select the app that best suits your business needs, goals, and budget, considering factors like pricing, compatibility, and customer reviews.
-
Click on the ‘Add app’ or “Get” button and follow the onscreen instructions to complete the installation and integration of the store locator app with your Shopify store.
-
After the installation and integration, log in to your Shopify account if prompted and authorize the app to access your store by granting the necessary permissions.
-
Follow the setup wizard to configure the store locator app according to your preferences, such as map display settings and store information.
Configuration: Customization and Settings
Once the app is installed, it’s time to customize it to fit your brand and customer needs.
-
Map Styles and Search Filters: Navigate to the app’s settings or customization tab. You can choose from various map styles and configure search filters to make it easier for customers to find your stores.
-
Customization Options: Most apps offer extensive customization options, making it easy to align the look and feel of the store locator with your brand identity.
-
User Experience: It’s vital to ensure that the locator provides a seamless experience for users, helping them find your stores effortlessly. An intuitive and visually appealing store locator contributes to a positive shopping experience, ultimately boosting engagement and conversion rates.
Integration: Embedding the Store Locator in Your Shopify Theme
Integrating the store locator into your Shopify theme should be done with care to maintain brand consistency.
-
Placement: Decide where on your site the store locator should be integrated. Common locations include a dedicated page or a section of the homepage.
-
Customization: Adjust the design and settings within the app dashboard to match your site’s theme.
-
Embed Code: Use the provided embed code or Shopify’s built-in tools to add the locator to your chosen spot on your site.
-
Preview: Always preview the integration to ensure everything looks and works as expected before going live.
Tips to Ensure Functionality
After integrating the Shopify store locator, thorough testing on various devices is essential to ensure it operates smoothly. Ensuring your store locator remains responsive and compatible across multiple devices and screen sizes is vital for a positive user experience. Here are some tips:
-
Mobile Optimization: Confirm the locator is easy to use on mobile devices, which means the design must be responsive across devices.
-
Functionality Testing: Regularly check features like search and map navigation to ensure they work correctly.
-
CSS Flexibility: Use CSS media queries to adjust the store locator’s layout based on the screen size.
-
User-Friendly Interface: Ensure the store locator is easy to use and navigate on all devices for a seamless customer experience.
These tips can help you successfully integrate a store locator into your Shopify theme and provide shoppers with a convenient way to locate your physical stores.
Testing & Troubleshooting of Shopify Store Locator
When testing the store locator app, take the following steps:
-
First, ensure that store locations are accurately displayed on the map.
-
Check the Search functionality to ensure users can easily find the nearest store.
-
Test the Directions feature to confirm that customers can get accurate routes to selected stores.
-
Check the responsive design across various devices and different-sized screens to ensure the store locator app works seamlessly.
How to handle other common issues that may arise during installation and integration
In the process of installing and integrating the store locator, you may encounter these common issues:
-
Map not displaying: Check the API key and ensure it’s correctly entered in the settings.
-
Incorrect store information: Double-check the data input for each store to ensure accuracy.
-
Search function not working: Review the search settings and test with different queries.
-
Map marker not showing: Confirm coordinates for each store and adjust if needed.
-
Regularly test the store locator on different devices to ensure consistency.
-
Update store information promptly to reflect any changes in locations or details.
-
Frequently monitor user feedback to make adjustments based on customer experience.
-
Implement regular maintenance to keep the store locator running smoothly.
Optimization – Enhancing Shopify Page Performance
Optimizing the performance of your store locator involves several strategies.
-
Utilize caching to speed up load times and improve performance.
-
Minimize HTTP requests to reduce the number of elements on the store locator page that require separate server requests for quicker loading.
-
Optimize images by compressing them and use lightweight map markers to reduce load times and improve responsiveness.
-
Implement lazy loading for map data and images to only when they are visible on the screen to enhance user experience.
Best Practices for Maintaining Accuracy and Ensuring Operational Efficiency of Store Location Data
To ensure your store locator provides accurate information and runs seamlessly, establish these store locator best practices:
-
Regularly update store information: Keep store details current to prevent user frustration from outdated data.
-
Monitor data accuracy: Verify store locations periodically to prevent inaccuracies.
-
Test regularly: Conduct routine tests to check for any issues that may arise and address them promptly.
-
Ensure mobile responsiveness: Confirm that the store locator functions well on all mobile devices for a seamless user experience.
-
Set up Google Analytics: Track user interactions with the store locator to identify patterns and areas for enhancement.
-
Analyze user behavior: Gain insight into how users interact with the store locator to make informed optimization decisions.
-
Encourage feedback: Prompt users to share their experiences and suggestions, allowing you to address any pain points efficiently.
-
Review performance metrics regularly: Monitor key performance indicators to gauge the store locator’s effectiveness and make data-driven improvements.
Conclusion
Adding a store locator app shopify to your can significantly improve the customer experience, bridging the gap between online browsing and offline purchasing. This step by step guide on how to add store locator on shopify will ensure that your store locator app is functional and optimized for performance. It is the answer to providing your customers with a seamless and satisfying shopping experience. Remember, the right tools and approaches will not only lead to better customer engagement but also contribute to the overall success of your e-commerce business in the competitive retail space.

Thilak
Thilak is the Co-founder & COO at Appracadabra, helping businesses streamline their Shopify app management. His expertise in eCommerce and product development enables him to craft innovative tools that simplify operations and drive growth for online merchants.